Add a photo gallery
Galleries are great for showcasing your place and service.
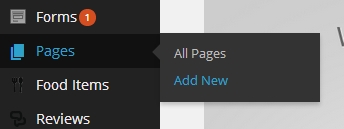
1.) If you haven’t created or don’t have an existing gallery page yet, simply go to Pages > Add New from your dashboard. If you already have one, follow the steps indicated in the tutorial on how to edit pages, return here and proceed to step 3.
Note: Photo galleries are not just limited to pages. You can also use them inside blog posts, food items and events.
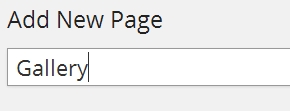
2.) Name the page you’d like to create a gallery on.
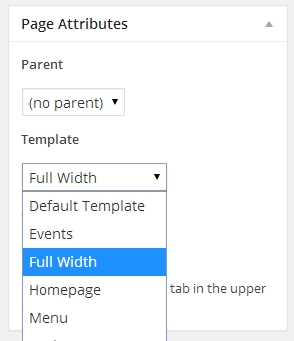
3.) Optional: At the right section of the page editor is the Page Attributes panel. Click on the Template dropdown menu and select Full Width. Doing so removes the sidebar from showing on the page and making any gallery created utilize the whole width of the website.
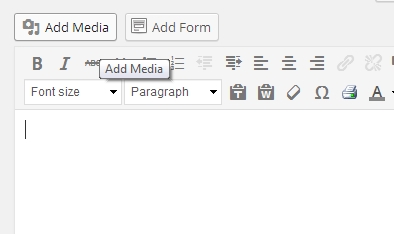
4.) Click on the content field to position your cursor there and then click on the Add Media button.
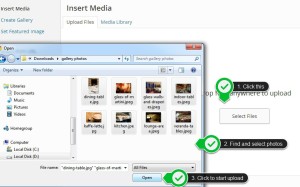
5.) On the Insert Media popup box, click on the Select Files button.
6.) Navigate to your photos’ folder, select the images you’d like add to gallery. Click on the Open button to start the upload.
7.) Once the upload is done, click on the Create Gallery button situated on the upper-left of the popup box (right below Insert Media).
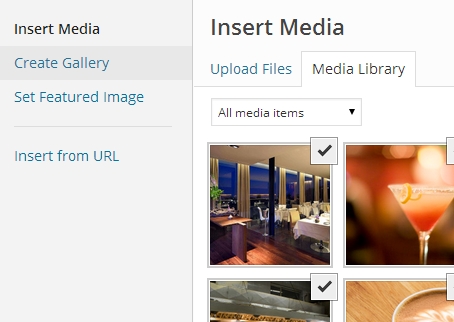
8.) Now that you’re on the Create Gallery tab, click on the Create a new gallery button situated on the lower-right corner of the popup box.
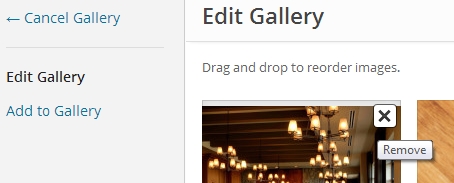
9.) On the Edit Gallery tab, there are a number of things you can do before finally inserting your newly created gallery. You can remove an image by simply hovering your mouse on its thumbnail and clicking on the X mark that appears.
10.) You also have the option to provide details for each image. To get started, simply click on each image. Make sure Link To is set to Media File. As for columns, it’s up to your preference (5 columns look best on full-width pages).
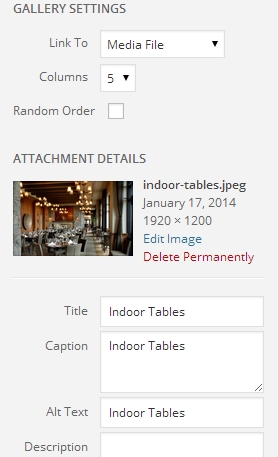
Title : appears when the image on the gallery is clicked on by the user to view it in full (screenshot: http://i.imgur.com/PQM15Ok.png)
Caption : visible text right under the image thumbnail when viewing the whole gallery. (screenshot: http://i.imgur.com/hFl8K0t.png)
Alt Text : though not necessary and in most cases not visible, this helps identify what the image is about in cases where the image doesn’t load, is broken, or have been mistakenly linked from.
Description : highly optional.
11.) Once you’re done editing each image and the gallery as a whole, click on the Insert gallery button situated on the lower-right corner of the popup box.
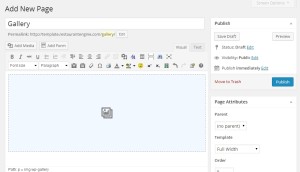
12.) You should now see a big box right inside the content box of your page editor (see screenshot below). Click on the Update/Publish button to save your changes.
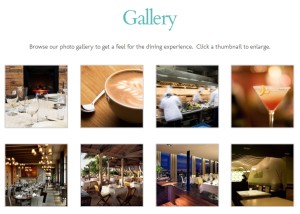
That’s it! Your new gallery has been inserted and is now live on the page.
Related tutorials:

