
Create a simple form
1.) From your WordPress dashboard, go to Forms > New Forms.
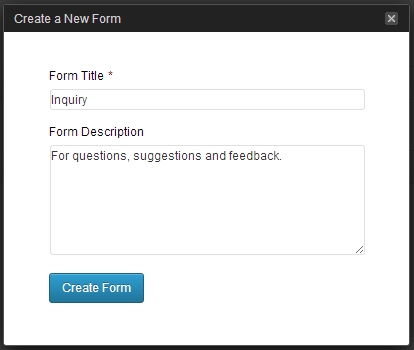
2.) Title and describe your form as you see fit. Click on the Create Form button once you’re done.
In the Form Editor page, you’re immediately presented with easy-to-follow steps on how to get started with your form.
For this specific tutorial, you’ll be creating a custom contact form different kinds of field types.
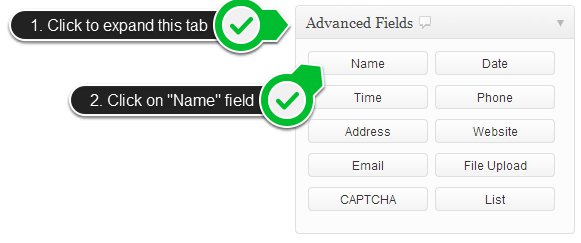
3.) To the right is the Standard and Advanced Fields section. Click on the Advanced Fields tab to expand the section, then click on the Name field button to add a new Name field to your form.
4.) A Name field should appear in the left half of your Form Editor page. Click on Edit or the Name field tab to edit it.
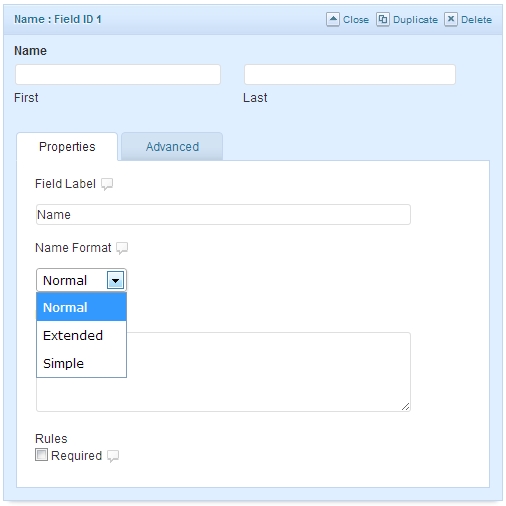
In the field settings are two tabs: Properties and Advanced. Under Properties, you’ll have the option to label the Name field differently than the default (you could make it say “Your Name” or “Complete Name”).
For Name Format, you will want to use either Normal (default) or Simple. You’re also able to assign a description which will appear alongside the field on the live form.
You can also set the field to be Required or not. If set to Required, the user will be notified and won’t be allowed to continue submitting his form entry if this Required field is left blank.
Different fields will have varying options. For most of the time, you also don’t have to set anything in the Advanced tab. You may then click on Close or the Name field tab again to shrink the field.
5.) Continue adding other fields that you think are necessary for the form you’re creating. The simpler and faster the form is to use for your users/customers, the better. Once you’re done with all the fields, click on the Update Form button to save everything.
6.) To use the form you’ve created on a page or post, from your WordPress dashboard go to Pages (or Posts) > All Pages (or All Posts). You can choose to either create a new page/post or edit an existing one where you’d like to embed the form on. For this tutorial, you’ll be creating a new one.
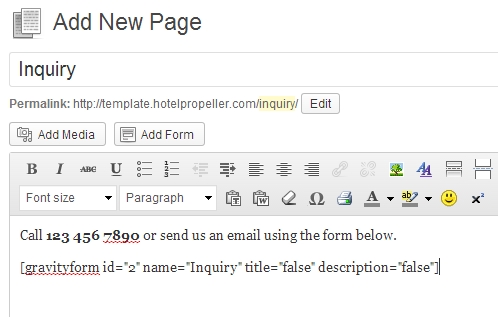
7.) On the page/post editor, start by giving the page/post a title. You can also add some supplementary content that would go well with the form.
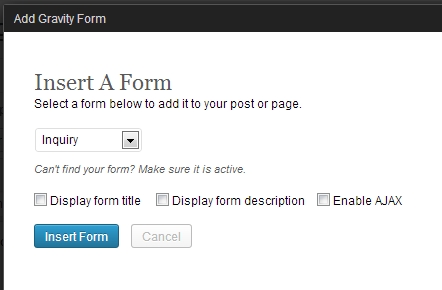
8.) Now click on the Add Form button right below the title input box. An Add Gravity Form lightbox should appear.
9.) In the dropdown menu, find and select the form you just created earlier. You can also opt to either display the form title and description or not. Click on the Insert Form button once you’re done.
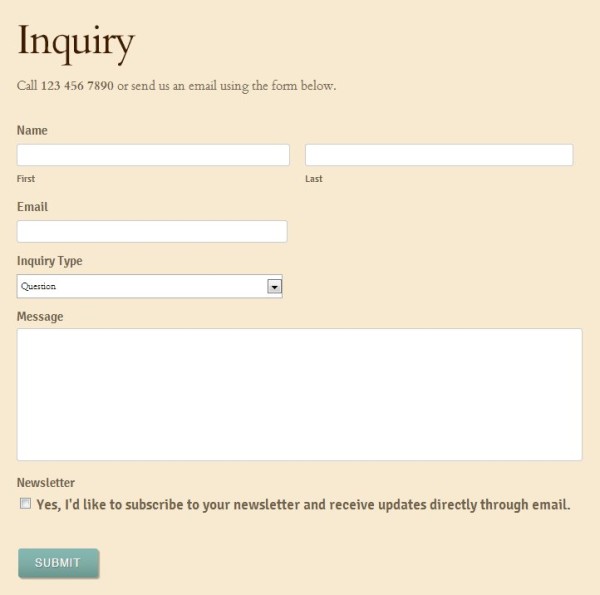
10.) You should be able to have something similar to the one below. Click on the Publish (or Update) button once you’re done.
That’s it! Your form is now live on your inquiry page.
Note: You can also use your form as a widget on your website. From your WordPress dashboard, just go to Appearance > Widgets. From the Widgets page, click-and-drag the Forms (Gravity Forms Widget) from the Available Widgets section to the widget box of your choice on the right. To learn more about how to manage widgets, check out this tutorial ».